
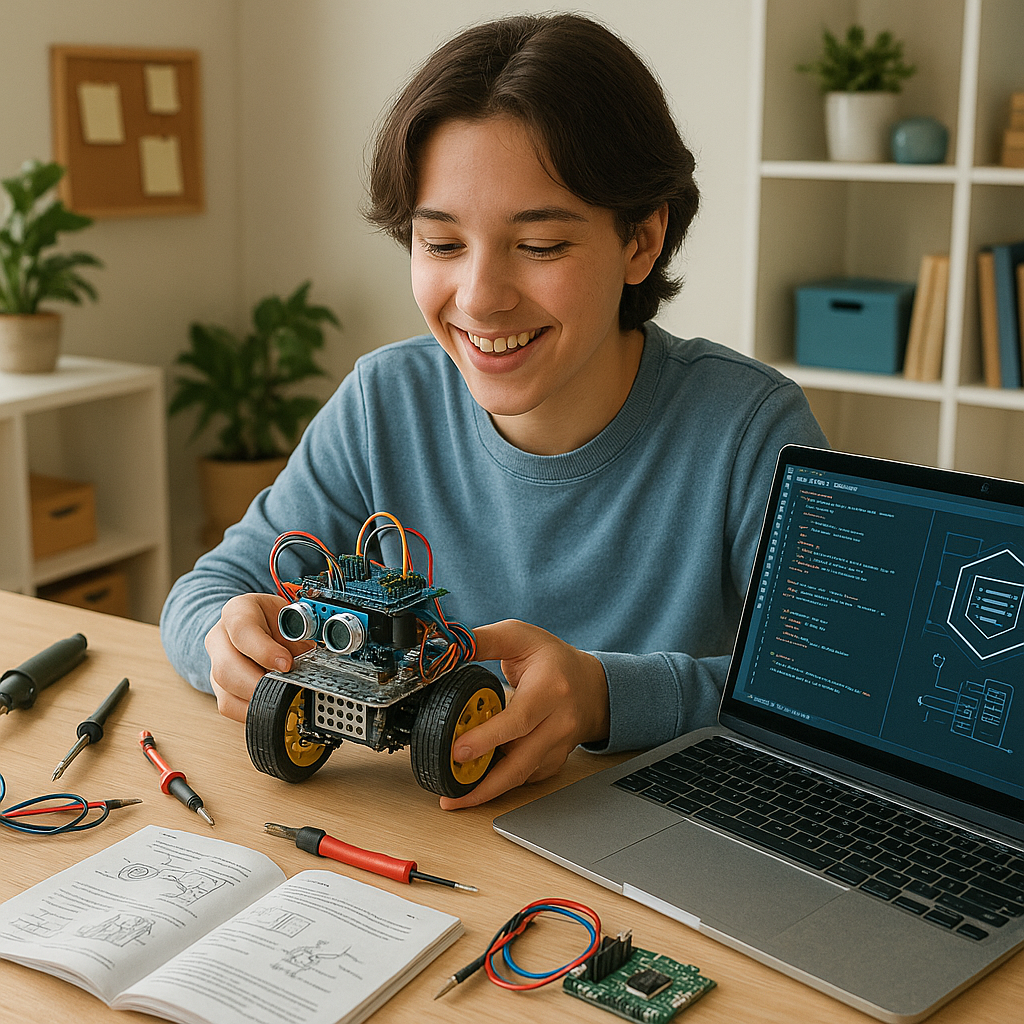
Building your first robot at home sounds complicated, but it is more achievable than most people think. You do not need an engineering degree or a professional lab. With affordable parts, free coding tools, and a clear plan, anyone with curiosity and patience can get started. This guide walks you through every step in simple language.
Step 1: Decide What You Want Your Robot to Do
Before buying any parts, think about the purpose of your robot. Having a clear goal saves time and money. Ask yourself a few basic questions:
- Should it move around like a toy car or a robot pet?
- Should it detect obstacles, follow a line, or respond to sound?
- Is it for fun, learning, or a practical task?
Starting with a simple, well-defined idea makes the entire building process much smoother. Beginners often find the most success with small, focused projects rather than trying to build something complex right away.
Step 2: Know the Basic Parts of a Robot
Every basic robot is made up of a few core components. Understanding what each part does helps you shop smarter and assemble faster.
| Component | Function |
|---|---|
| Microcontroller | Acts as the brain; Arduino and Raspberry Pi are popular choices |
| Motors and Wheels | Allow the robot to move in different directions |
| Sensors | Detect light, distance, sound, or motion from the environment |
| Power Source | Rechargeable battery that powers all components |
| Wires and Connectors | Link all parts together for communication and power flow |
| Chassis or Body | The physical frame that holds everything in place |
If you are just starting out, consider buying a robot starter kit available online. These kits include all the essential components and often come with basic instructions, making them ideal for first-time builders.
Step 3: Learn the Basics of Robot Programming
Your robot needs instructions to function, and that is where programming comes in. The good news is that you do not need to be an expert coder to get started.
- If you are using an Arduino board, download and use the free Arduino IDE software.
- If you are using a Raspberry Pi, you can write code in Python, which is one of the easiest programming languages for beginners.
- Look for sample codes and starter projects online. Modify them to suit your robot’s behaviour.
Start with simple commands like moving forward, turning left, or stopping when a sensor detects an object. As you grow more comfortable, you can add more complex logic to your code.
Step 4: Assemble Your Robot Step by Step
Once you have your components and a basic code plan ready, it is time to put everything together. Follow these steps carefully:
- Mount the microcontroller securely on the robot chassis or frame.
- Attach the motors and wheels to the base of the frame.
- Position the sensors at the front or sides where they can detect the environment clearly.
- Connect all components to the microcontroller using the appropriate wires.
- Upload your code to the microcontroller and power on the robot.
Always double-check your wiring before switching on the power. A loose or incorrect connection can damage components or cause the robot to behave unexpectedly.
Step 5: Test, Troubleshoot, and Improve
Testing is one of the most important parts of building a robot. Do not get discouraged if your robot does not work perfectly on the first try. Most builders go through several rounds of testing and fixing before everything runs smoothly.
- Check all wire connections if the robot does not respond.
- Review your code carefully for any logical errors or typos.
- Make one small change at a time and test after each adjustment.
- Keep notes on what works and what does not to track your progress.
Every mistake teaches you something valuable. With each attempt, your understanding of robotics grows stronger.
Easy Robot Project Ideas for Beginners
If you are not sure where to begin, here are four beginner-friendly robot projects that are both simple and satisfying to build:
- Line-Following Robot: Uses sensors to follow a black tape path on the floor. Great for learning about sensors and basic logic.
- Obstacle-Avoiding Robot: Detects walls or objects and steers away automatically. A perfect introduction to ultrasonic sensors.
- Remote-Controlled Car: Controlled via Bluetooth or Wi-Fi from your smartphone. Teaches wireless communication basics.
- Basic Robotic Arm: Uses servo motors to pick up and move small objects. Ideal for learning about mechanical movement and servo control.
Each of these projects builds a different skill set and gives you hands-on experience with real robotics concepts. Start with whichever one excites you the most.
Building your first robot at home is a rewarding experience that combines creativity, problem-solving, and technical learning. Start small, stay patient, and enjoy the process. Once you complete your first project, you will have the confidence and knowledge to take on bigger and more complex builds.
Frequently Asked Questions
A line-following robot or an obstacle-avoiding robot are among the easiest projects for beginners. Both use simple sensors, basic wiring, and straightforward code, making them ideal first builds.
Basic coding knowledge helps, but you do not need to be an expert. Beginners can use Arduino IDE with ready-made example codes or write simple Python scripts on a Raspberry Pi to get their robot working.
A basic beginner robot can be built for a relatively low cost. Robot starter kits that include a microcontroller, motors, sensors, and chassis are available online at affordable prices, making it accessible for most hobbyists.